Hello Readers,

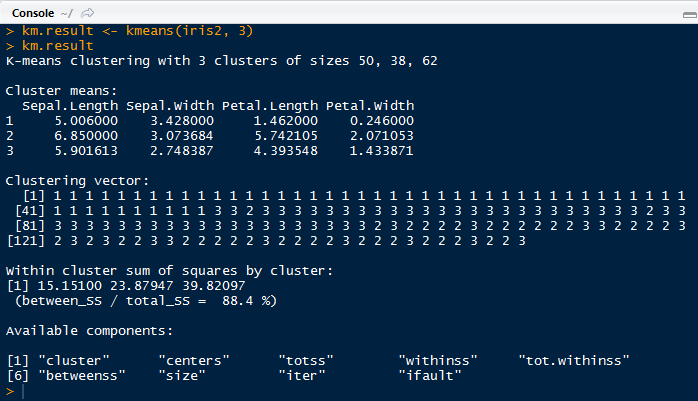
This post will cover another method on data clusters. Last time we talked about k-means clustering and here we will discuss hierarchical clustering.
We will use the cars data set available here. It describes a set of cars from 1978-1979.
Start R and let us get started!
Hierarchical Clustering
A large difference in hierarchical clustering and k-means clustering lies in the selection of clusters. K-means (covered here) requires that we specify the number of clusters first to begin the clustering process. In hierarchical clustering, the process requires a distance matrix, and the processes creates a cluster with the two closest points after evaluating all the points and re-evaluates the distance with the rest of the points and the new cluster. There are multiple distances we can use, with different results. Therefore, we can get a solution with a trivial case, where each observation is a separate cluster, to the opposite trivial solution where all the observations are in one cluster.
The hclust function in R will enable us to perform hierarchical clustering on our data.
Cars Data
Read the tab delimited file, 'cars.tab' with the read.delim() function in R. To get an idea of what we are working with, pass cars through head() and observe the data.
 |
| cars Data and cars1 |
We see cars has 2 character variables (Country and Car model) and 6 numerical (MPG, Weight, Drive_Ratio) and integer (Horsepower, Displacement, Cylinders) variables. In a new data set cars1, we can keep all the variables we can analyze numerically, and not pass the first two.
Next we need to standardize the various variables so that a variable with high magnitude compared to others will not overwhelm the clustering. Essentially we create a 'z-score' for each variable by computing the median and the median average deviation. We take the difference between the variable and the median and divide it by the median absolute deviation, like a z-score. This is shown below with the apply() and scale() functions. Remember, the "2" represents the columns for apply.
 |
| Scale Standardization of cars1 Variables |
Now that the variables are centered, we can calculate the distance between each observation for each variable by using the dist() function. We will obtain a distance matrix will be a lower diagonal matrix with all the distances between the i and j observations.
 |
| dist() and hclust() Functions |
Next we pass the hclust() function the cars.dist distance matrix to get the cluster object, cars.hc. Then we visualize the results.
Plotting the Dendrogram
Using the car types in the original cars data as the labels, we can create a dendrogram to visualize the cars1 data.
 |
| Dendrogram Plot Code |
The plot() function yields the tree diagram below. The cex argument allows us to scale back the size of the label text for readability.
 |
| Cars1 Dendrogram |
At a given height in the plot, there are vertical lines each representing a group with objects when they were grouped together into a cluster. If we cross the y-axis at 6, we will encounter 2 lines, so there are 2 groups there. The y-axis represents how close together observations were when they were merged in groups, so if the height was small, like those in heights 0 to 1, then those clusters are not too reliable. However, if the height was higher between the last cluster and the current one, then the clusters do a good job at showing the structure of the data.
So by looking at the diagram, we see that at a high height, there seems to be two distinct groups which first emerge. The right hand group has two groups in itself, while the left hand group appears to have similar clusters, as their heights are smaller. Therefore, we can make an argument for 2 or 3 clusters. But as you can see, the hierarchical clustering considers both trivial conclusions- 1 cluster for all observations or 38 clusters for each individual observation from top to bottom.
Using the rect.hclust() we can visualize which branches are in which cluster- when we specify the cluster number. Let us choose k=3.
 |
| rect.hclust() Function |
Which outlines the clusters in the plot and yields:
|
| Clusters in the Plot |
Just like we predicted earlier, we thought that the left and right clusters would be groups, and the right cluster would be split further into two for a total of three clusters, as outlined above.
Cluster Groupings
Now that we have the clusters, we can analyze the clusters and the observations in each cluster. We can start by seeing now many observations are in each cluster by using the cutree() function and specifying the number of clusters.
 |
| Counts for 3 Clusters |
We see that all three groups have 8 in cluster 1, 20 in cluster 2, and 10 in cluster 3. There are over half of the observations in the second cluster. Is this because we need more clusters? Let us see what happens when we look at the counts for 2 clusters up to 6. We can use the sapply() function for efficiency.
 |
| Counts for Clusters 2 to 6 |
From the 4 cluster count, the difference is negligible as another cluster was created of size 3 only. By 5 clusters, we see the counts becoming more similar.
Next, we can see which cars are in the 3 clusters. Again, we use sapply() and we get the car types in a list.
 |
| Car Types in 3 Clusters |
Also, we can see what happens when there are 4 clusters:
 |
| Car Types in 4 Clusters |
Observe that the 'Audi 5000', 'Saab 99 GLE' and 'BMW 320i' are now in new cluster # 3 with the 4 cluster model.
Cluster Grouping Analysis
Remember that we removed the Car and Country variables from the data set that we used because they were character variables. Some of the times we take out variables to see if the clusters from the analysis naturally group themselves with those removed variables.
Let us see if the origin country of the cars, given by Country are reflected in the clusters. Create a table with the group index and Country name to see any patterns.
 |
| Group Country Count |
In cluster 1, we see that all the cars were produced in the United States. This is obvious if we remember the car names in the first cluster- they were Buick, Chevy, Mercury, Ford, Chrysler, and Dodge, all American car manufacturers. For cars in cluster 2, most of the cars were produced in the United States, Japan, and Germany. In cluster 3, the United States also produced the most cars at 7 models.
A useful method for characterizing clusters is by using summary statistics. Here we can use the median to evaluate the averages of each variable in the clusters with the aggregate() function.
 |
| Median Variable Values of 3 Clusters |
But these numbers are not the same because we standardized them at the beginning. To get a better idea of what we are looking at, we can use the original numbers, as in a3. Instead of using cars1, we use the original cars data set.
 |
| Median Variable Values of 3 Clusters, Unadjusted |
In a3.df we created a data.frame to encompass the cluster number, the frequency of observations in each cluster, and then the un-standardized median values for the variables. From the readable data.frame, we can see cars in
- Cluster 1 have lower gas mileage (MPG), higher Weight, more Horsepower, larger Displacement, and more Cylinders;
- 20 very light Weight cars in cluster 2 have the highest MPG, a higher Drive_Ratio, the lowest Horsepower and the least number of Cylinders;
- Cars in cluster 3 are average compared to the cars in the other two clusters, but more similar to cluster 1.
Likewise, we performed the same procedure for 4 clusters as well:
 |
| Median Variable Values of 4 Clusters, Unadjusted |
We can see that the new cluster, #3, was created from a grouping in cluster #2 in a3.df with cars having lower MPG, more Weight, higher Drive_Ratio, more Horsepower, and increased Displacement.
And that is it! As you can see, hierarchical clustering had an advantage of being able to analyze results from different cluster numbers more quickly than k-means clustering. It also allows us to see the groupings in the plot visual from one trivial cluster to all observations into their own cluster.
Next up in the Cluster Analysis Series will be PAM- partitioning around medoids. So stay tuned!
Thanks for reading and Happy New Year!
Wayne
@beyondvalence